Rise of the Tomb Raider Blood Ties: Croft Manor Guide
Explore Rise of the Tomb Raider Blood Ties with safe codes, the master key route, collectible totals, and tips for finishing Lara's Croft Manor story DLC.
Jump to
What Is Blood Ties?
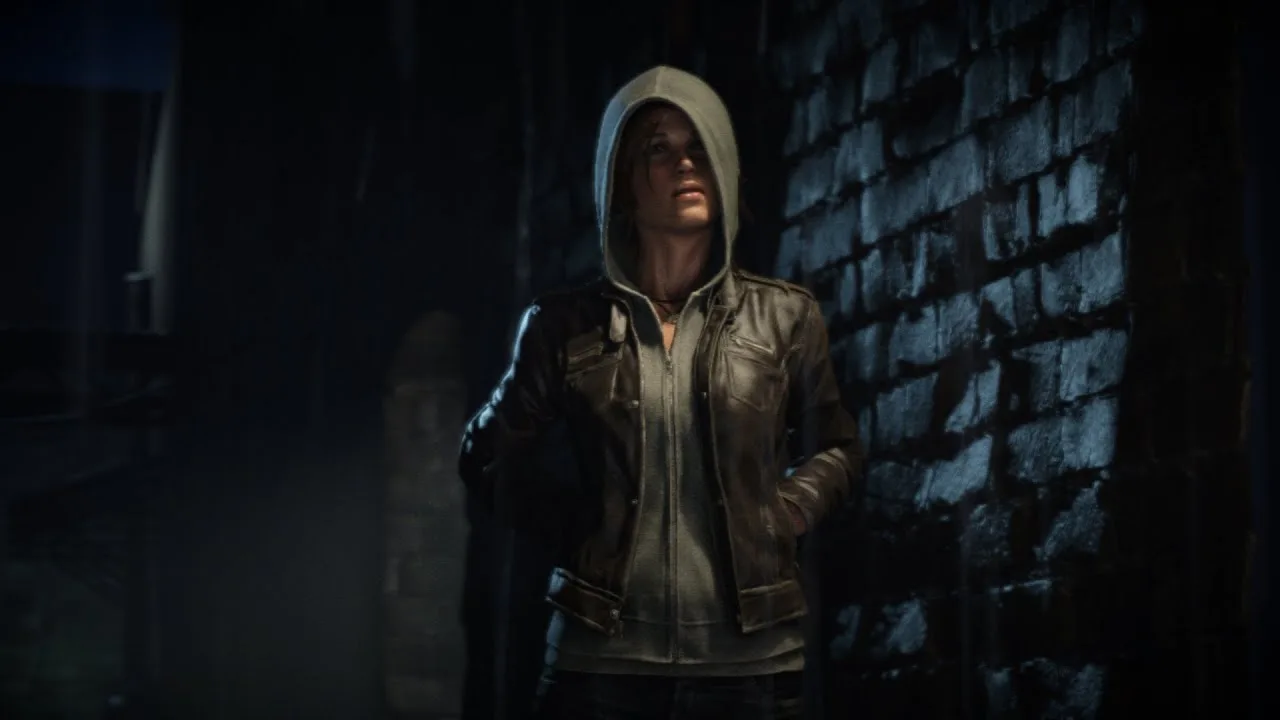
Lara’s next mystery is waiting inside her childhood home. Rise of the Tomb Raider Blood Ties takes you through Croft Manor to uncover family secrets and find evidence that will protect Lara’s claim to the estate. Its puzzles, letters, and childhood keepsakes give you a closer look at the family behind her adventures.
This single-player story chapter centers on exploration and puzzle solving, with no combat. Lara’s uncle, Atlas de Mornay, is challenging her ownership of the manor, and the search for answers begins with Richard Croft’s locked safe.
Blood Ties and Lara’s Nightmare are separate experiences. Blood Ties explores the Croft family’s past; Lara’s Nightmare has you defend the manor against zombies. Choose Blood Ties for the family mystery.
Accessing Croft Manor and Planning Your Visit
Blood Ties is included with Rise of the Tomb Raider: 20 Year Celebration. On Steam, owners of the standard edition can access the chapter through the 20 Year Celebration Pack DLC or the Season Pass. Check your library’s included content before buying an upgrade through the Rise of the Tomb Raider Steam page.

Enter Croft Manor from the main menu. When returning to an existing Blood Ties playthrough, select Continue Story – Blood Ties.
Keep these details in mind:
- Saving uses autosave. You cannot make a manual save during the chapter.
- The final three relics require main-campaign completion. Finish the campaign before your collectible sweep if you want to gather everything during the same visit.
- VR is optional. The chapter supports conventional play, while its SteamVR mode supports HTC Vive and Oculus Rift.
The manor’s map can also make navigation confusing. Lara’s west wing appears on the right side of the map: north points down, south points up, and east is left. Follow room names and landmarks when matching directions to the map.
Reach the Library and Find the Master Key
Your opening objective is to open Lord Croft’s safe, but the clues are scattered through rooms you cannot initially access. Start by finding a route into the library.
- Examine Lara’s childhood expedition map. It rests on boxes in the corridor outside Richard’s study. Inspect it before trying the hidden entrance to the servants’ passages.
- Collect the flashlight downstairs. Find its box in the main entryway on the lower level of the main hall. Lara equips it automatically and switches it on when needed.
- Return to the servants’ entrance near the study. Survival Instinct highlights the child’s handprints marking the doorway.
- Descend into the wine cellar. Move the rolling carts to clear gaps between the shelves and open the route onward.
- Follow the basement tunnels to the ladder. Climb up, collect the renovation plans and nearby journal, then enter the library through the panel marked with Lara’s handprints.
Inside the library, collect the Old Lighter and inspect the items connected to Lara’s childhood treasure hunt.
To reach the upper walkway, move the rolling ladder left and climb it. Pull the cart blocking the walkway aside, climb down, return the ladder to its original position, and climb again. You can now reach the expedition map resting on a locked chest.
Use the lighter to light the library fireplace, then expose the map to the heat. Its invisible markings reveal where the Master Key is hidden. Move the indicated trunk near the bookshelves and open the metal box underneath.
Before leaving the library, unlock the chest beneath the expedition map. It contains Lara’s Egyptian Crown, an essential safe-combination clue.
Open Lord Croft’s Safe: Combination 549
The safe in Richard’s study opens with 549. Each digit comes from a different part of the family’s history.

| Clue | How to solve it | Digit |
|---|---|---|
| Lara’s expedition treasure | Match the two-bird symbol on the Egyptian Crown to the Hieroglyphics Worksheet in the library. | 5 |
| Richard’s favorite painting | Amelia’s “Moving In” journal identifies the painting with red blocks. Count its four red blocks. | 4 |
| Richard and Amelia’s anniversary | Amelia’s birthday is October 13, and her journal places their wedding four days earlier. | 9 |
Use the Master Key to enter the west wing and explore both the master bedroom and Amelia’s atelier for the remaining clues. The necklace in the bedroom supplies Amelia’s birthday, while her writing explains the anniversary and Richard’s favorite painting.
Return to the study and enter 549 at the wall safe.
Inspect everything inside, especially the Blank Letter. The safe also holds Lara’s clay handprint, another of Richard’s journals, and his unpublished manuscript.
Unlock the Secret Vault: Code 142
The next numerical puzzle uses the revealed letter and the same Hieroglyphics Worksheet you used for the crown. Its symbols translate to 1-4-2.
To reach the keypad:
- From the main hall, enter the lower-level corridor through the doors to the right of the staircase when facing it.
- Pass the library entrance and use the next door on the left to enter the servants’ passages.
- Descend into the wine cellar.
- Go through the gap between the racks, turn back to the right, and continue toward the far-left corner.
- Use Survival Instinct to locate the movable shelf, then push it aside.
- Enter 142 on the exposed keypad to open the nearby secret entrance.
Inside Richard’s vault, collect the Crowbar and the Missing Renovation Page. The crowbar lets you remove the Sun Shaped Plaque from the wall and break through the wall to leave.
Read the plaque’s directional riddle alongside the renovation information for the next stage of the mystery. Remember the map’s reversed orientation when interpreting north and south.
Before leaving the vault, try the light switch near the plaque. It reveals additional writing under black light, though those markings are not part of a puzzle solution.
Find All Collectibles and the Final Three Relics
Croft Manor contains 54 relics, 40 documents, and two murals. Survival Instinct helps you locate items, but some pickups depend on story progress, the Master Key, or the Crowbar.
Use this checklist while exploring:
- Inspect both suits of armor. The armor in the east wing sitting room and the library counts toward the two murals. Their associated document entries do not count toward the 40-document total.
- Revisit locked chests after finding the Master Key. The upper main hall chest contains the Croft Family Crest, and the library chest contains the Egyptian Crown.
- Return to the basement lockers with the Crowbar. Collect “A Letter to Dad” in the basement tunnels and “Respectful Duty” near the servants’ dining area.
- Search the crypt before approaching its central story objective. Richard’s recording, “The Return,” is in an alcove before the main chamber. The Golden Rose is on a corner pedestal reached by taking the stairs on the right as you enter.
- Continue exploring after the credits. Atlas’s letter, “Capitulation,” appears near the main entryway. Lara’s subsequent reflections add “Reconciliation” without a physical document to pick up.
If your relic count stops at 51, the remaining items depend on finishing the main campaign. Beat the final boss, watch the ending scenes, and return to the Geothermal Valley. Then revisit Blood Ties through the main menu and go upstairs to Richard’s study.
The last three relics waiting there are the Yamatai Sword, The Atlas, and Roth’s Pistols.
Continue with
 Rise of the Tomb Raider Endurance Mode: Survival GuideMaster Rise of the Tomb Raider endurance mode with tips for food, warmth, skills, crypt traps, co-op revives, and extraction. Plan a run you can finish.
More in DLC
See all DLCContinue exploring
Rise of the Tomb Raider Best Skills to Get First: Guide
Rise of the Tomb Raider best skills to get first: prioritize XP, steady aim, and useful crafting upgrades with a clear plan for your early skill points.
Rise of the Tomb Raider Orrery: Puzzle & Loot Guide
Solve the Rise of the Tomb Raider orrery puzzle, time every moving-platform jump, and find all three survival caches, the mural, and your archery reward.
Join the community
Official channels for news, updates and player help: