
Rise of the Tomb Raider Orrery: Puzzle & Loot Guide
Solve the Rise of the Tomb Raider orrery puzzle, time every moving-platform jump, and find all three survival caches, the mural, and your archery reward.
Jump to
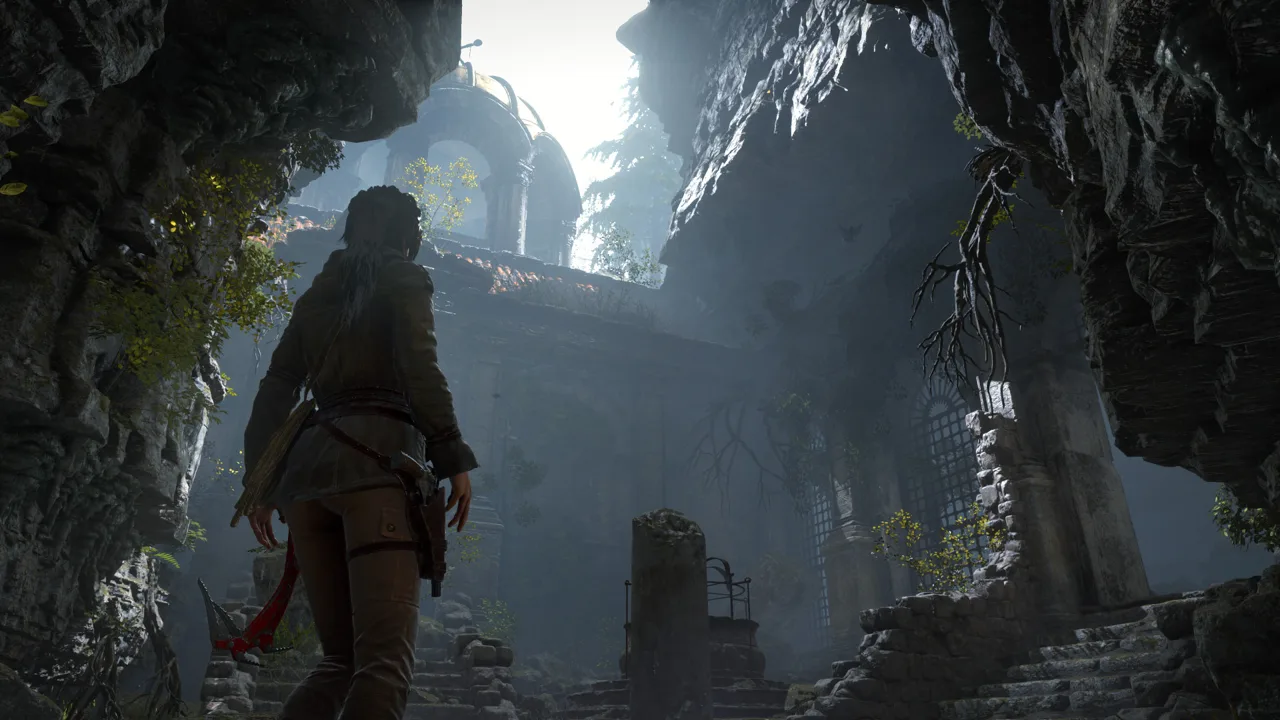
How to Solve the Orrery Puzzle
The Rise of the Tomb Raider orrery turns your route to Kitezh into a climb through a giant rotating machine. Align its arms with rope arrows, reach and release both locking mechanisms, then ride the moving beams to the exit. Your reward is the Classically Trained skill, with three survival caches and a mural to collect along the way.
This is a required story area rather than an optional Challenge Tomb. The puzzle has two distinct stages: positioning the stationary arms to reach the locks, then timing your jumps once the mechanism starts moving.
Official page: Rise of the Tomb Raider™ (store.steampowered.com)
Reach the Entrance and Collect the Approach Loot
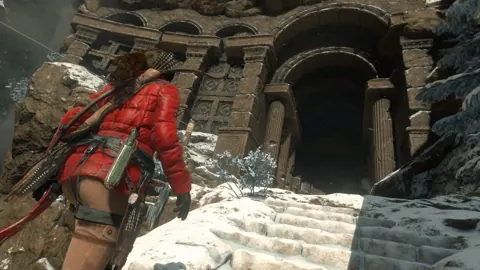
The entrance opens after the Research Base sequence, near the Ridgeline Base Camp in the Geothermal Valley. Bring your climbing arrows into play as you descend beneath the observatory.
 Image: Steam / Crystal Dynamics
- Head upstairs into the observatory room, then take the secret staircase down.
- Break through the crumbling wall on the right with your axe and follow the passage.
- At the chasm, cross the narrow wooden beam. Drop down on the left to dig up survival cache 1/3.
- Climb back up and place climbing arrows in the long wooden wall to cross the gap and reach the next ledge.
- Use four more climbing arrows on the wall ahead to reach the upper ledge on the right. Collect the Explorer Satchel, which reveals the area's survival caches on your map.
- Drop into the cavern to reach the Solemn Crevasse Base Camp.
- Follow the northern passage into a small pool. Before swimming all the way across, check the ledge on the right near water level for survival cache 2/3.
Resting at Solemn Crevasse unlocks the camp journal entry The Truth Revealed. Ore and mushrooms are also available around the approach and camp.
Continue along the hillside path lined with spears. The grated window at the bottom gives you a view of the machine, but the entrance is through the narrow opening in the rocks to the left. Squeeze through and descend the ledges.
Pickup checklist before the main chamber:
- Survival cache beneath the wooden-beam crossing.
- Explorer Satchel on the upper ledge reached with climbing arrows.
- Survival cache beside the pool beyond Solemn Crevasse.
The mural icon on the map points to an underground tunnel. Leave that pickup until you reach the upper ledges inside the chamber.
Position the Stationary Arms
Your first task is to build a climbable route from the entrance to the room's upper perimeter.
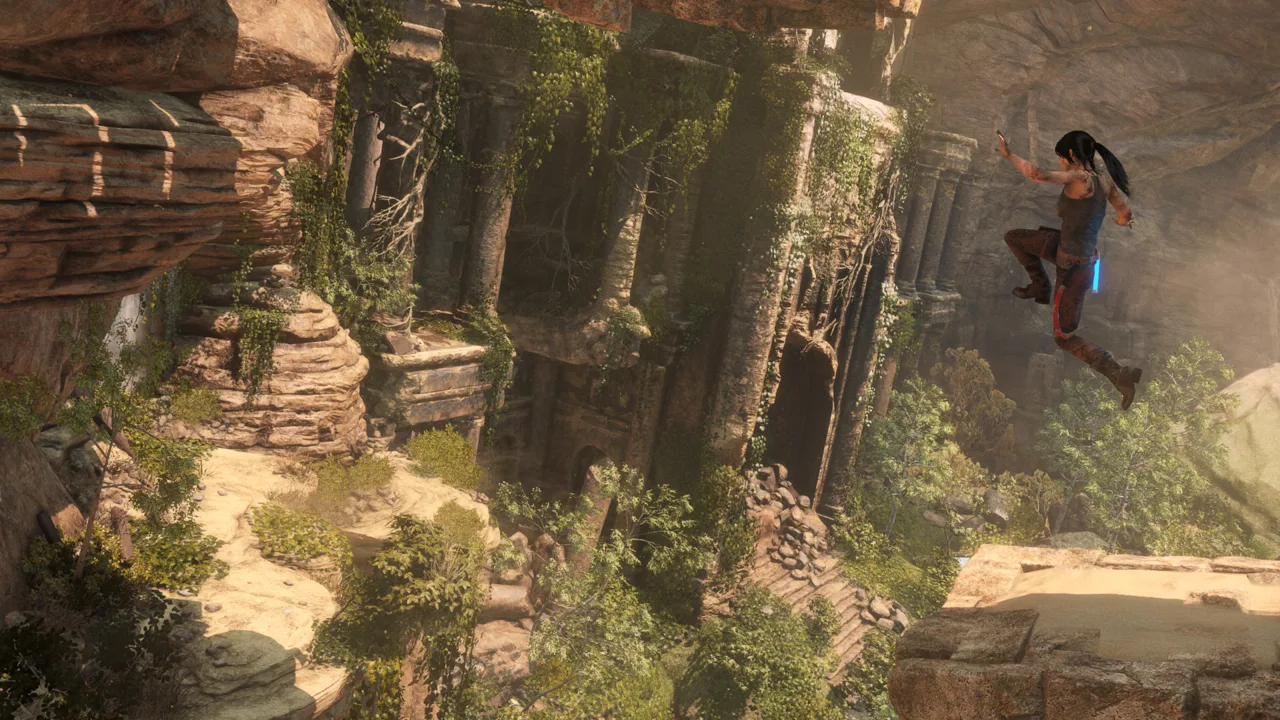 Image: Steam / Crystal Dynamics
- Walk onto the wooden beam at the entrance.
- Fire a rope arrow into the nearest rope-wrapped orb and pull it toward Lara.
- Jump onto the repositioned arm, walk to its far end, and jump down to the central circular platform.
From the center, look toward the east side of the room. Two taller arms need adjusting.
Align the Grapple Rings
Find the tall arm carrying an orb and metal grapple rings.
- Pull its orb with a rope arrow to rotate the arm a quarter turn.
- Shift slightly to the right.
- Pull the same orb again for another quarter turn.
The grapple rings should now point toward the southeast corner.
Align the Wooden Board
Find the other tall arm, with an orb at one end and a wooden board at the other.
Pull its orb twice, rotating it a quarter turn each time. The wooden board should finish near the two red-and-gold banners on the east wall.
Use those landmarks to check your setup before climbing. The rings and board need to connect the route across the beams.
Climb to and Release Both Locks
With the arms positioned, start from the central platform.
 Image: Steam / Crystal Dynamics
- Jump to the nearby hanging wooden board and climb onto its beam.
- Move forward, turn left, and use the grapple rings to swing to the next beam.
- Turn left again and walk to the beam's end.
- Jump to the wooden board hanging from the second tall arm, then climb onto it.
- Walk to the far end, turn right, and jump toward the wooden ledge on the wall.
- Scramble up, then climb onto the broad ledge above.
Collect the gold coins in the far-left corner, then push the wooden accordion-shaped mechanism to disengage the first lock.
Move around to the left and grapple-swing onto the colorful circular platform in the middle. Cross to the opposite ledge and push the second accordion-shaped mechanism. Once both locks are disengaged, the machine begins rotating.
Before returning to the moving arms, take the passage leading south from this ledge. It ends in a small room containing Entombed, the area's only mural, from the Byzantine Inscriptions series.
Cross the Moving Orrery and Reach the Top
Return from the mural room and stand on the wooden ramp to the left of the second locking mechanism. Watch the arms complete a rotation before committing to the next jump.
- Swing back to the center. Wait for a set of grapple rings to approach, then grapple-swing to the central platform.
- Catch the wooden board. Move to the edge nearest the arm carrying both grapple rings and a wooden board. When the board comes within reach, jump, grab it, and climb onto the beam.
- Face the beam's end. Turn around while riding the rotating arm.
- Grab a dangling crossbar. Wait for the arm with two hanging crossbars to approach, then jump to catch one.
- Drop onto the beam below. Hold on until Lara passes directly above the next metal beam, then release.
Lara can call out “Now!” at the drop point, but the voice cue does not always play. Watch her posture: she stiffens and extends her legs downward when she is positioned to drop.
Continue upward:
- Walk to either end of the beam you landed on.
- Wait for the next wooden board to rotate toward you, then jump to it.
- Climb onto its beam, turn around, and face the end.
- Ride the arm until its end approaches the central shaft.
- Jump toward the shaft, holding Jump for maximum air time, and catch a handhold.
- Climb upward and around to the right, grab the white bar above, and pull onto the top.
Walk out along either catwalk. When it lines up with the doorway on the east side, jump into the room.
For the final shaft jump, wait until the arm brings Lara close to the center. Use the shaft's handholds as your target.
Claim Classically Trained and Find the Final Cache
Examine the codex in the exit room to unlock Classically Trained, which improves Lara's rapid-fire archery. Collect the nearby ore, supplies, cloth, and gold coins before continuing down the passage.
At the next drop-off, hop into the lower area and dig up survival cache 3/3. This is the last survival cache in the level.
Climb back up and use climbing arrows to reach the exit:
- Place one arrow in the soft wooden panel above on the right.
- Place two more in the wall on the left.
- Scramble up to the first arrow, then jump across to the second and third.
- While perched on the third arrow, shoot two more into the wooden wall across the tunnel.
- Jump across those arrows, then leap toward the stone wall and scramble onto the upper ledge.
Follow the passage onward to the Path of the Deathless.
Return for Missed Collectibles
You can complete this area on your first visit. If you leave something behind, fast travel to Solemn Crevasse Base Camp and retrace the relevant section.
After the puzzle is solved, doors near the entrance open, providing a route straight across the upper level to the codex room.
For a missed mural, take the tunnel on the left back to the lower chamber. Climb and swing up to the west-side ledge, then follow the southern passage to the mural room. Climb the machine again afterward to reach the exit.
Continue exploring
Rise of the Tomb Raider 20 Year Celebration: DLC Guide
Explore Rise of the Tomb Raider 20 Year Celebration, including Blood Ties, co-op Endurance, bonus DLC, classic Lara skins, and VR options before you buy.
Rise of the Tomb Raider Best Skills to Get First: Guide
Rise of the Tomb Raider best skills to get first: prioritize XP, steady aim, and useful crafting upgrades with a clear plan for your early skill points.
Join the community
Official channels for news, updates and player help: