Rise of the Tomb Raider Maps: Collectibles and Tombs
Use Rise of the Tomb Raider maps to find collectibles, track tombs, reveal hidden caches, and handle blocked routes across Siberia, Syria, and DLC areas.
Jump to
How to Reveal Collectibles on the Map
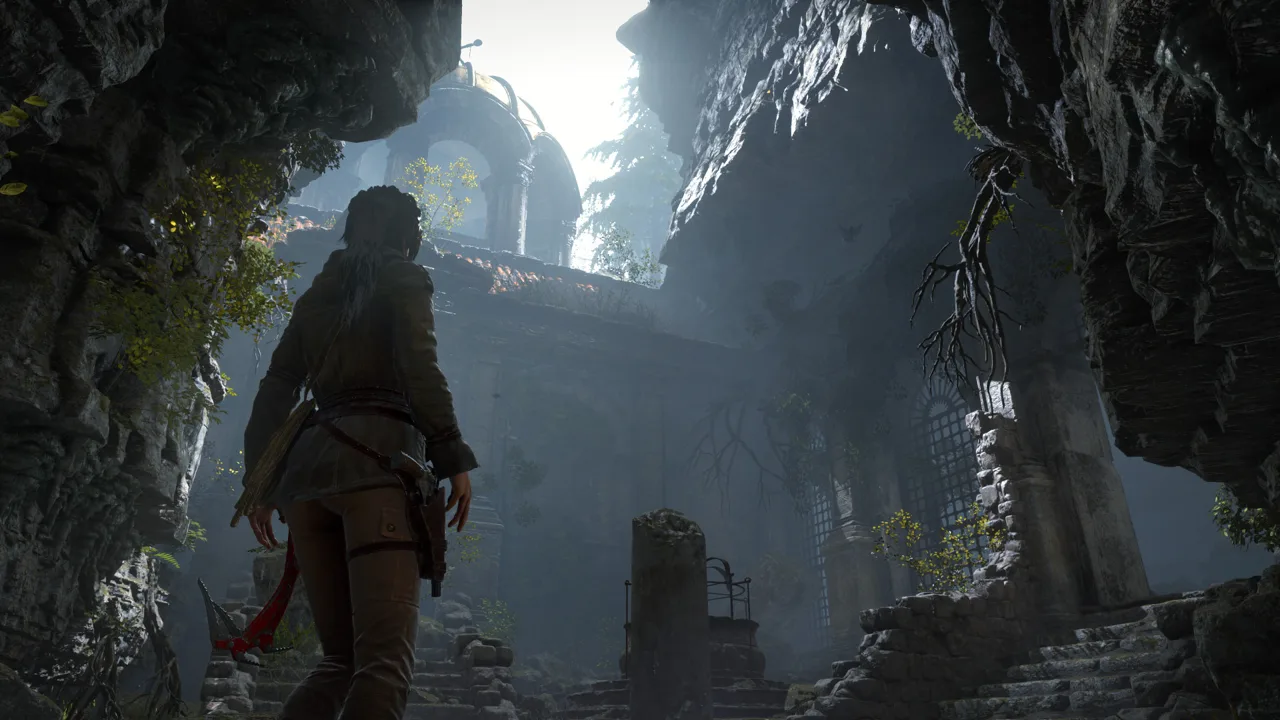
Rise of the Tomb Raider maps help you locate collectibles, but a marker can point toward something above you, underground, or beyond a story obstacle. Start by finding Archivists Maps, Explorer Satchels, and Monoliths to reveal nearby items. Then check the route and elevation before spending time searching the same patch of ground.
These discoveries serve different purposes:
- Archivists Maps: Reveal collectible locations within an area.
- Explorer Satchels: Reveal loot locations, including survival caches.
- Monoliths: Reveal coin caches when translated.
Prioritize these discoveries before sweeping an area for individual pickups. For survival caches specifically, finding an Explorer Satchel gives you marked locations to pursue rather than relying on a ground-level search.
A completed region map still needs some interpretation. Collectible markers show where an item sits horizontally, but a flat image cannot explain whether it is inside a cave, beneath a structure, or on a high ledge. Select an item on the in-game map and follow its blue glow to check both direction and elevation.
Official page: Rise of the Tomb Raider™ (store.steampowered.com)
Regional Maps: Tombs and Collectible Counts
The Soviet Installation and Geothermal Valley are the campaign’s two main hubs. Both involve return visits with newly acquired equipment, so leave blocked pickups for later instead of trying to finish everything during your initial visit.
 Image: Steam / Crystal Dynamics
Use these counts to track tombs and narrative collectibles across the regions containing challenge tombs:
| Region | Challenge Tombs | Relics | Documents |
|---|---|---|---|
| Glacial Caverns | 1 | 3 | 4 |
| Soviet Installation | 3 | 18 | 26 |
| Geothermal Valley | 4 | 13 | 33 |
| The Lost City | 1 | 10 | 8 |
The Glacial Caverns contain the Ice Ship, the first challenge tomb. Geothermal Valley has four tombs alongside 33 documents, so keep tomb exploration and document hunting on your checklist when returning there.
Several smaller regions also have specific totals worth tracking:
- Syria: 2 relics, 4 documents, 5 murals, and 3 coin caches, plus 1 challenge.
- Siberian Wilderness: 3 relics, 6 documents, 3 survival caches, and 3 coin caches.
- Abandoned Mine: 1 relic, 5 documents, 1 mural, 3 survival caches, and 3 coin caches.
- The Acropolis: 3 relics, 10 documents, 1 mural, 3 survival caches, and 3 coin caches.
- The Orrery: 1 mural, 3 survival caches, and 1 codex.
- Path of the Deathless: 1 relic and 4 documents, plus 1 challenge.
Track challenges separately from relics, documents, and caches.
Soviet Installation and Geothermal Valley Routes
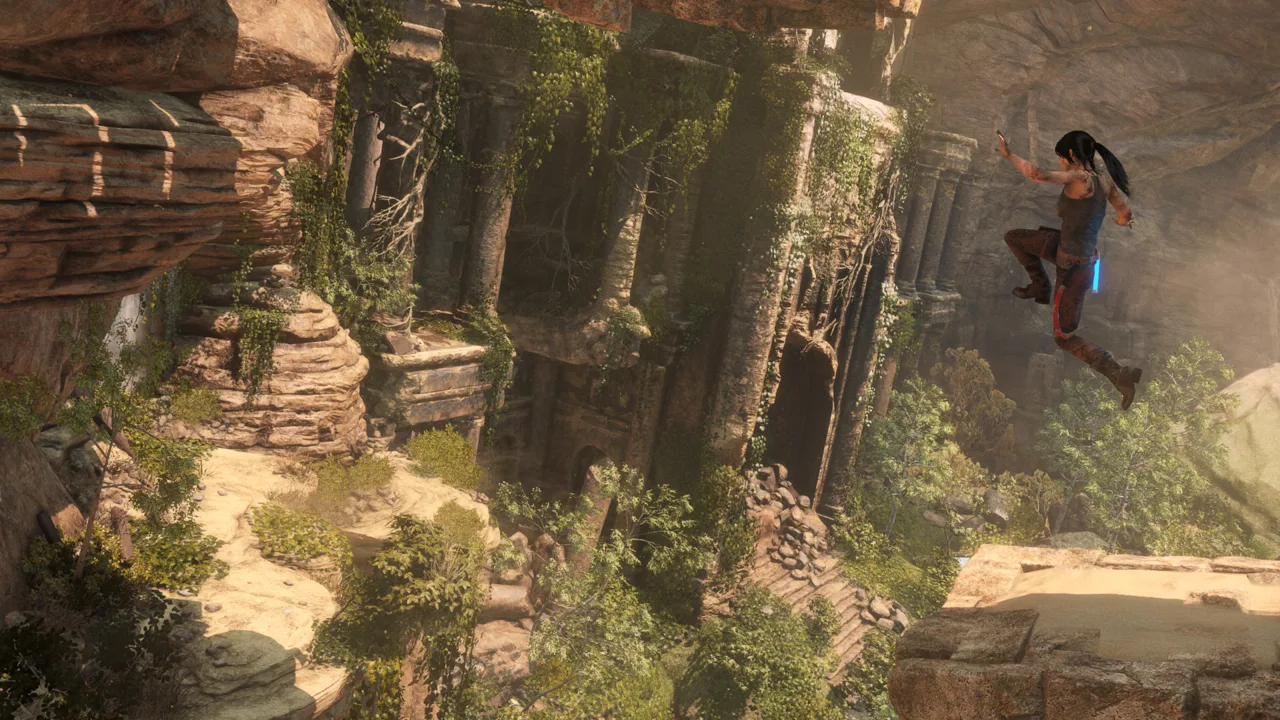 Image: Steam / Crystal Dynamics
Soviet Installation
The Soviet Installation contains 14 strongboxes, 21 survival caches, 9 coin caches, and 2 crypt treasures, in addition to its relics and documents. Its underground spaces make a surface-only search easy to misread.
When a marker appears beneath you, check for a cave or underground entrance before circling the surface again. Some collectibles occupy the underground cistern area, where raising the water is necessary to reach the remaining items.
Keep the region’s other activities on your checklist: it has 5 missions and 4 challenges alongside its 3 challenge tombs. Return with newly acquired gear to pursue previously blocked routes.
Geothermal Valley
Geothermal Valley contains 8 strongboxes, 20 survival caches, 9 coin caches, and 2 crypt treasures. It also has 4 missions and 5 challenges.
One useful detour is inside the House of the Afflicted Tomb. Swim underwater in the right-hand pool and look for the passage beyond the underwater arch. That route leads to both a survival cache and an Explorer Satchel.
Collect the satchel while you are there so you can use its revealed loot markers during the rest of your search.
Why a Collectible Marker Can Be Out of Reach
Before assuming you have overlooked a pickup, check whether the route requires a return visit, new equipment, or a changed environment.
 Image: Steam / Crystal Dynamics
| Location | Access restriction | What to do |
|---|---|---|
| Syria | Revisiting becomes available after the story | Return after completing the campaign |
| Siberian Wilderness | The document just south of the Archivists Map requires a later combat encounter | Defeat the Trinity soldiers that invade the area, then collect it |
| The Acropolis | A cutscene interrupts access to the document and coin cache at the bottom of the map during the initial visit | Collect both on a second visit |
| Flooded Archives | The final mural requires Broadhead Arrows | Return through the entrance from Geothermal Valley’s Ridgeline base camp |
For other awkward markers, look up and check nearby cave entrances. An item’s position on the map does not mean you can approach it directly from the terrain above it.
In water-based areas, check whether the puzzle has changed the water level. A revealed location and a usable route are separate parts of finding the collectible.
Collectible Cleanup Checklist
Organize return visits around what you can now reach:
- Find the local reveal items. Pick up Archivists Maps and Explorer Satchels, and translate Monoliths.
- Collect accessible marked items. Use the selected marker’s blue glow to check elevation.
- Revisit equipment barriers. Return to blocked hub routes with newly acquired gear.
- Finish interrupted areas. Revisit the Acropolis for its delayed pickups and Syria after the campaign.
- Complete the remaining activities. Include missions, challenges, challenge tombs, and crypt treasures in your tracking.
Several achievements give those searches specific goals:
- Keen Eye: Unearth 40 Survival Caches.
- Fluent: Reach maximum proficiency in one language. Read murals and documents while exploring.
- The Chosen Few: Uncover the remains of all Jacob’s disciples by opening the sarcophagus in each crypt.
- No Stone Unturned: Achieve 100% game completion.
DLC Areas and Their Map Objectives
Wicked Vale: Baba Yaga
The Wicked Vale has its own document collection, survival caches, and challenge. Its collectible achievements include Complete History of Witchcraft for collecting all documents and The Witch Bottles for unearthing all survival caches.
For Vasilisa's Lanterns, inspect the lift route carefully: most lanterns are positioned along the journey. Follow the lift’s path when searching for remaining challenge targets.
Croft Manor: Blood Ties
Blood Ties moves exploration into Croft Manor, including the main hall, Lord Croft’s office, and lower basement levels.
Keep separate tallies for relics and documents. Home Raider requires all relics in Croft Manor, while Complete Family History requires all documents.
Cold Darkness Awakened
Cold Darkness Awakened includes a treasure map that reveals its 8 documents. Use it when pursuing Uncovering the Truth.
Upgrade pry chests require a separate search because that treasure map does not reveal them. Check the top of every tower and search each of the three main areas; each main area contains at least one.
Equip the associated challenge before pursuing a Cold Darkness challenge achievement. For Legendary Gunsmith, the objective is to open 6 upgrade pry chests.
Continue exploring

Rise of the Tomb Raider Challenges: All 18 Explained
Complete Rise of the Tomb Raider challenges with all 18 regional objectives, target counts, gear requirements, and tips for tricky dives and hidden items.
Rise of the Tomb Raider All Outfits and Unlock Guide
Explore Rise of the Tomb Raider all outfits, including mission rewards, DLC gear, classic skins, crafting costs, and the bonuses each costume gives Lara.
Join the community
Official channels for news, updates and player help: