
Rise of the Tomb Raider Beginner Guide: 12 Key Tips
Use this Rise of the Tomb Raider beginner guide to pick early skills, master stealth, upgrade your bow, gather supplies, and explore tombs with confidence.
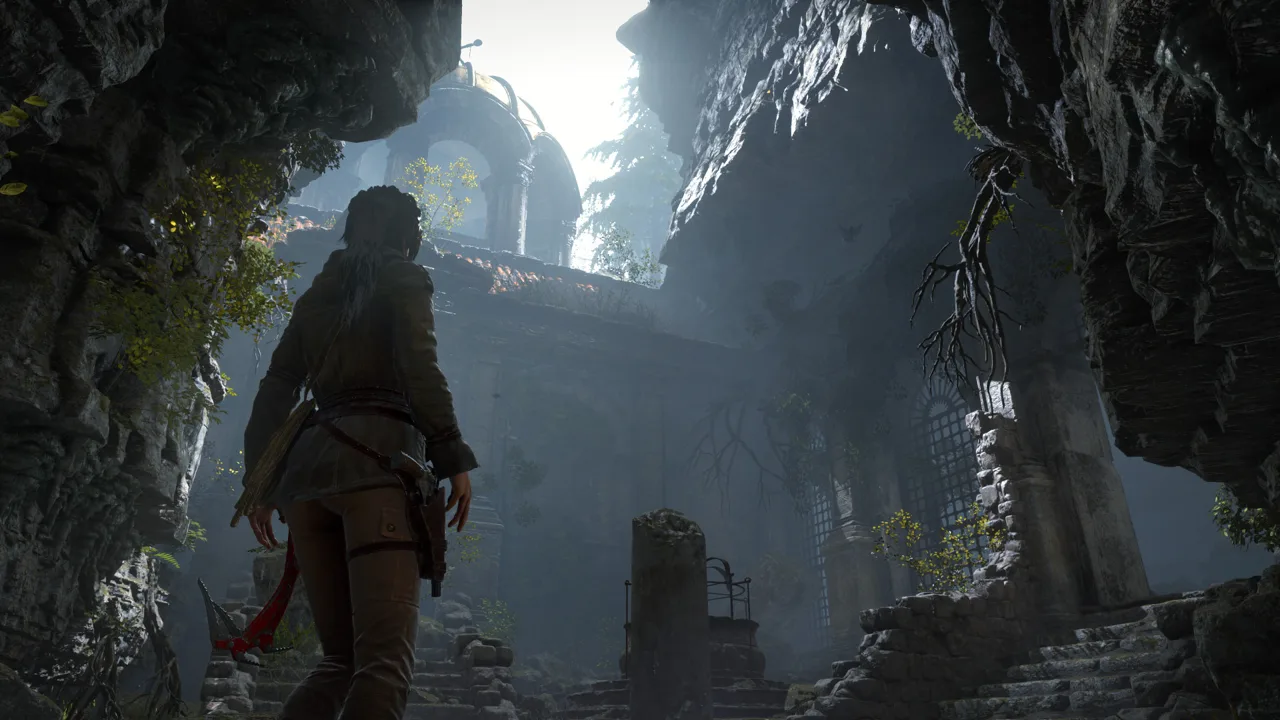
Siberia gets much easier when Lara has the right skills, a stocked quiver, and room to retreat. This Rise of the Tomb Raider beginner guide helps you spend upgrades wisely and prepare for fights before they spiral out of control. A few habits early on will keep supplies flowing and make optional exploration worth your time.
Early Game: Build Skills That Keep Paying Off
1. Unlock Avid Learner Early
Spend an early Skill Point on Avid Learner in the Survivor tree. It increases the XP you earn from discoveries such as documents, relics, and survival caches, helping you earn more Skill Points as you explore.
Once available, consider Finesse if you regularly land headshots or perform stealth takedowns. It rewards chains of qualifying kills with bonus XP.
Then address whatever is slowing you down:
- Pick Thick-Skinned to reduce damage taken during combat.
- Choose Eye for Detail to highlight challenge objects through Survival Instincts.
- Invest in bow skills if you favor quiet, deliberate encounters.
Read each skill’s effect before spending. An exploration bonus earns its place through frequent discoveries; a combat bonus needs to match how you actually fight.
2. Pause and Use Survival Instincts
Activate Survival Instincts when you enter an unfamiliar area, lose the climbing route, or reach a puzzle room. It highlights useful resources, interactive objects, and traversal features that can blend into the scenery.
Inside tombs, use it to identify the pieces of the puzzle, then examine how they connect. Look above your current position and check underwater spaces when the route seems to stop.
Eye for Detail expands its usefulness by making challenge objects easier to spot. Pick it up if you enjoy clearing optional objectives while exploring.
3. Look for Maps, Satchels, and Small Ground Glints
Watch for Archivist Maps and Explorer Satchels. These reveal collectible locations on your map and make later searches more efficient.
Survival caches also deserve a closer look at ground level: watch for a small white glint. Don’t assume a quick Survival Instincts scan has revealed every buried item nearby.
Collect documents and relics along your route, especially after unlocking Avid Learner. They contribute XP while giving you more of the story behind the places Lara explores.
Official page: Rise of the Tomb Raider™ (store.steampowered.com)
Combat: Scout Before You Shoot
 Image: Steam / Crystal Dynamics
4. Read Enemy Colors Before a Stealth Kill
Stop behind cover and activate Survival Instincts to assess the patrol:
- Yellow enemies are outside other enemies’ sightlines.
- Red enemies are being watched by another enemy.
Wait for guards to separate, then target an isolated enemy with a clean headshot or stealth takedown. The colors reflect their current positions, so reassess as patrols move.
Survival Instincts fades when you move. Get into position first, watch the group, and choose your opening before leaving cover.
5. Upgrade the Bow Alongside Your Guns
Keep investing materials and skills in Lara’s bow. It supports hunting, stealth combat, and, as your equipment develops, traversal and puzzle interactions.
Practice lining up headshots against isolated targets. Several skills support that approach:
- Breath Control improves your ability to hold a steady aim with a drawn bow.
- Arrow Retrieval gives you a chance to recover arrows from defeated enemies.
- Dead Eye adds a headshot indicator when aiming bows and guns.
- Nerves of Steel extends how long you can hold a fully drawn bow steady.
Later, Double Shot and Triple Shot expand your options against multiple targets. Work toward them as their skill tiers become available rather than planning early encounters around abilities you haven’t unlocked.
6. Search the Battlefield for More Than Targets
Before starting a fight, look for explosive barrels, usable bottles, cover, and alternate approaches. Survival Instincts helps identify interactive objects, including opportunities to craft improvised weapons.
Use environmental explosives against clustered enemies. Craft a Molotov when the required materials are available, and consider special arrows as you unlock them.
Thin out a group quietly before committing to open combat. If the fight becomes loud, use the space around you instead of staying exposed while trading shots with several enemies.
Resources: Hunt, Craft, and Prepare at Camp
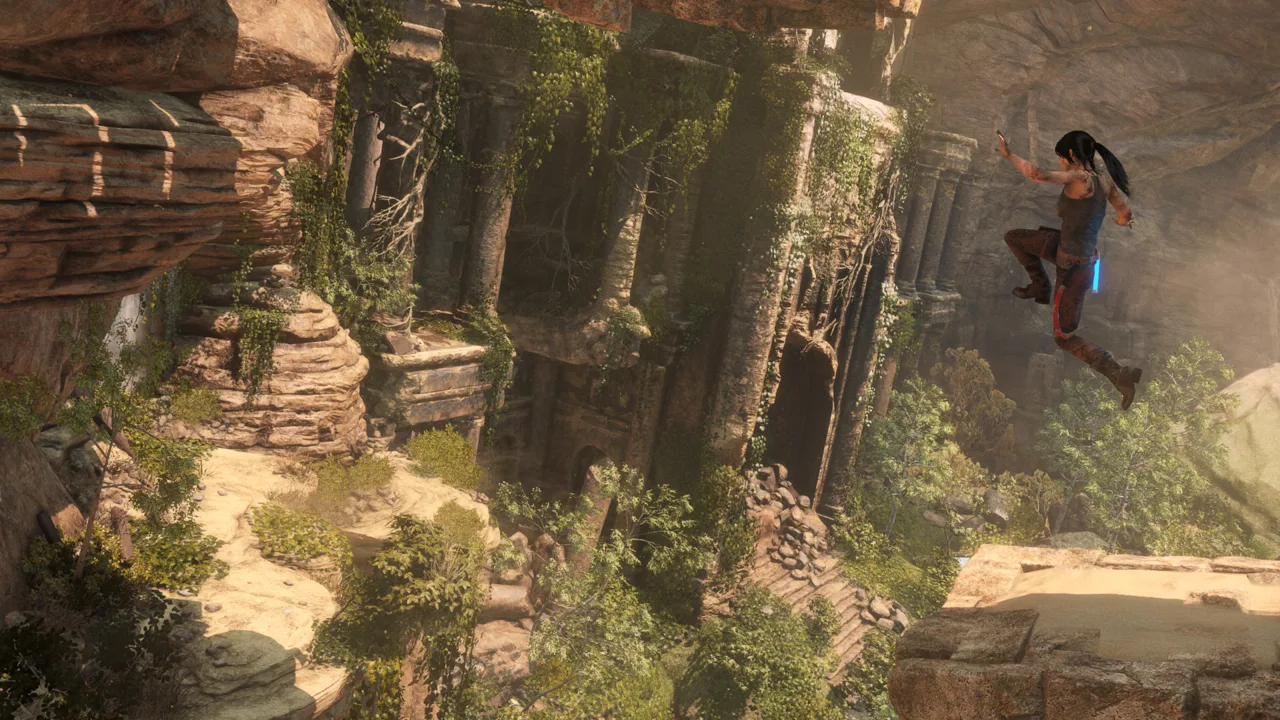 Image: Steam / Crystal Dynamics
7. Gather Materials During Exploration
Collect hardwood, feathers, hides, and other crafting resources as you travel. These support ammunition, equipment upgrades, and supplies you may need during combat.
Hunt manageable wildlife for hides before you need a major crafting upgrade. Approach predators with more preparation: wolves can close the distance quickly, while bears and large cats demand sustained attention and enough ammunition.
Keep your distance and leave room to retreat. Use special arrow types when available rather than approaching dangerous wildlife as an easy source of hides.
8. Invest in Carrying Capacity
Craft pouches, a satchel, and a rucksack as their upgrades become available. Carrying more arrows and resources helps you make better use of your scavenging trips and prepare for longer stretches between camps.
Check the material requirements before heading out to hunt. Gather toward an upgrade you can actually complete.
For further resource support, consider:
- Animal Instincts, which highlights animals and tracking clues through Survival Instincts.
- Naturalist, which increases the natural resources gathered from each source.
Choose these when hunting and gathering are a regular part of your route.
9. Check Skills, Weapons, and Outfits at Campfires
Use base camps to prepare before entering another combat area. Spend available Skill Points, inspect affordable upgrades, and review your equipped weapons.
Change weapon variants at camp. Choose a bow and firearms you’re comfortable using before moving on; discovering that an unfamiliar weapon feels awkward is much more costly during a crowded fight.
Also inspect the outfit menu. Some outfits provide gameplay bonuses, and others require crafting materials. The Battle Worn coat, for example, shortens the delay before health regeneration begins after taking damage.
Read the outfit’s effect and select one that supports the activity ahead.
Mistakes to Avoid: Rushing Past Rewards or Chasing Everything
 Image: Steam / Crystal Dynamics
10. Don’t Walk Past Accessible Challenge Tombs
Enter optional Challenge Tombs when you find an accessible entrance. Completing them awards special skills, giving their environmental puzzles a practical payoff.
The early Ice Ship tomb rewards you with faster bow shooting. That makes it a useful detour while you’re still developing Lara’s combat abilities.
Inside a tomb, inspect the room before repeatedly attempting a jump or mechanism. Use Survival Instincts to locate interactive pieces and trace the route between them. If frustration takes over, leave and return with fresh eyes.
11. Pick Up Optional Missions in Hub Areas
When you see the notification “Ally nearby: optional mission available,” find the nearby character and speak with them.
Optional missions can reward weapons, outfits, and other useful equipment. Take a look at these opportunities if combat is becoming difficult or your current gear feels limited.
Complete nearby challenges as you explore, too. They provide additional XP, while Avid Learner further rewards challenge completion. Pair these activities with resource gathering to make a return trip through a hub more productive.
12. Stop Trying to Finish Every Area Immediately
Some paths require tools you acquire later in the campaign. A blocked entrance can be a reason to move on: certain boarded barriers, for example, require a shotgun.
Explore the routes your current equipment allows, then return after acquiring new tools. Use base-camp fast travel to revisit areas and collect what you previously couldn’t reach.
You can continue searching for discoveries after the credits. Leave inaccessible collectibles for later rather than letting one blocked passage stall the entire adventure.
FAQ
Does Rise of the Tomb Raider Support Controllers on PC?
Yes. For your PC setup:
- The game is available on Windows, macOS, and Linux.
- Full controller support lets you use a controller if you prefer it to a keyboard and mouse.
What Does the 20 Year Celebration Edition Include?
Rise of the Tomb Raider: 20 Year Celebration includes the base game and Season Pass content. Alongside the campaign, it includes:
- Blood Ties, a story chapter set in Croft Manor.
- Lara’s Nightmare, which has you defend the manor against zombies.
- Baba Yaga: The Temple of the Witch, an additional story adventure.
- Cold Darkness Awakened, featuring infected enemies.
- Endurance content, including online cooperative survival.
- Additional outfits, weapons, Expedition Cards, classic Lara skins, and the Extreme Survivor campaign difficulty.
Start with the main campaign to learn Lara’s exploration, crafting, and combat systems before tackling the additional survival modes.
Continue with
 Rise of the Tomb Raider Best Skills to Get First: GuideRise of the Tomb Raider best skills to get first: prioritize XP, steady aim, and useful crafting upgrades with a clear plan for your early skill points.
Continue exploring

Rise of the Tomb Raider Endurance Mode: Survival Guide
Master Rise of the Tomb Raider endurance mode with tips for food, warmth, skills, crypt traps, co-op revives, and extraction. Plan a run you can finish.
Rise of the Tomb Raider All Outfits and Unlock Guide
Explore Rise of the Tomb Raider all outfits, including mission rewards, DLC gear, classic skins, crafting costs, and the bonuses each costume gives Lara.
Join the community
Official channels for news, updates and player help: